

THAT was a long couple of weekends. We started this season camping outside and sweating in the autumn sun. We're still camping outside and sweating in the sun, but boy it's more intense!
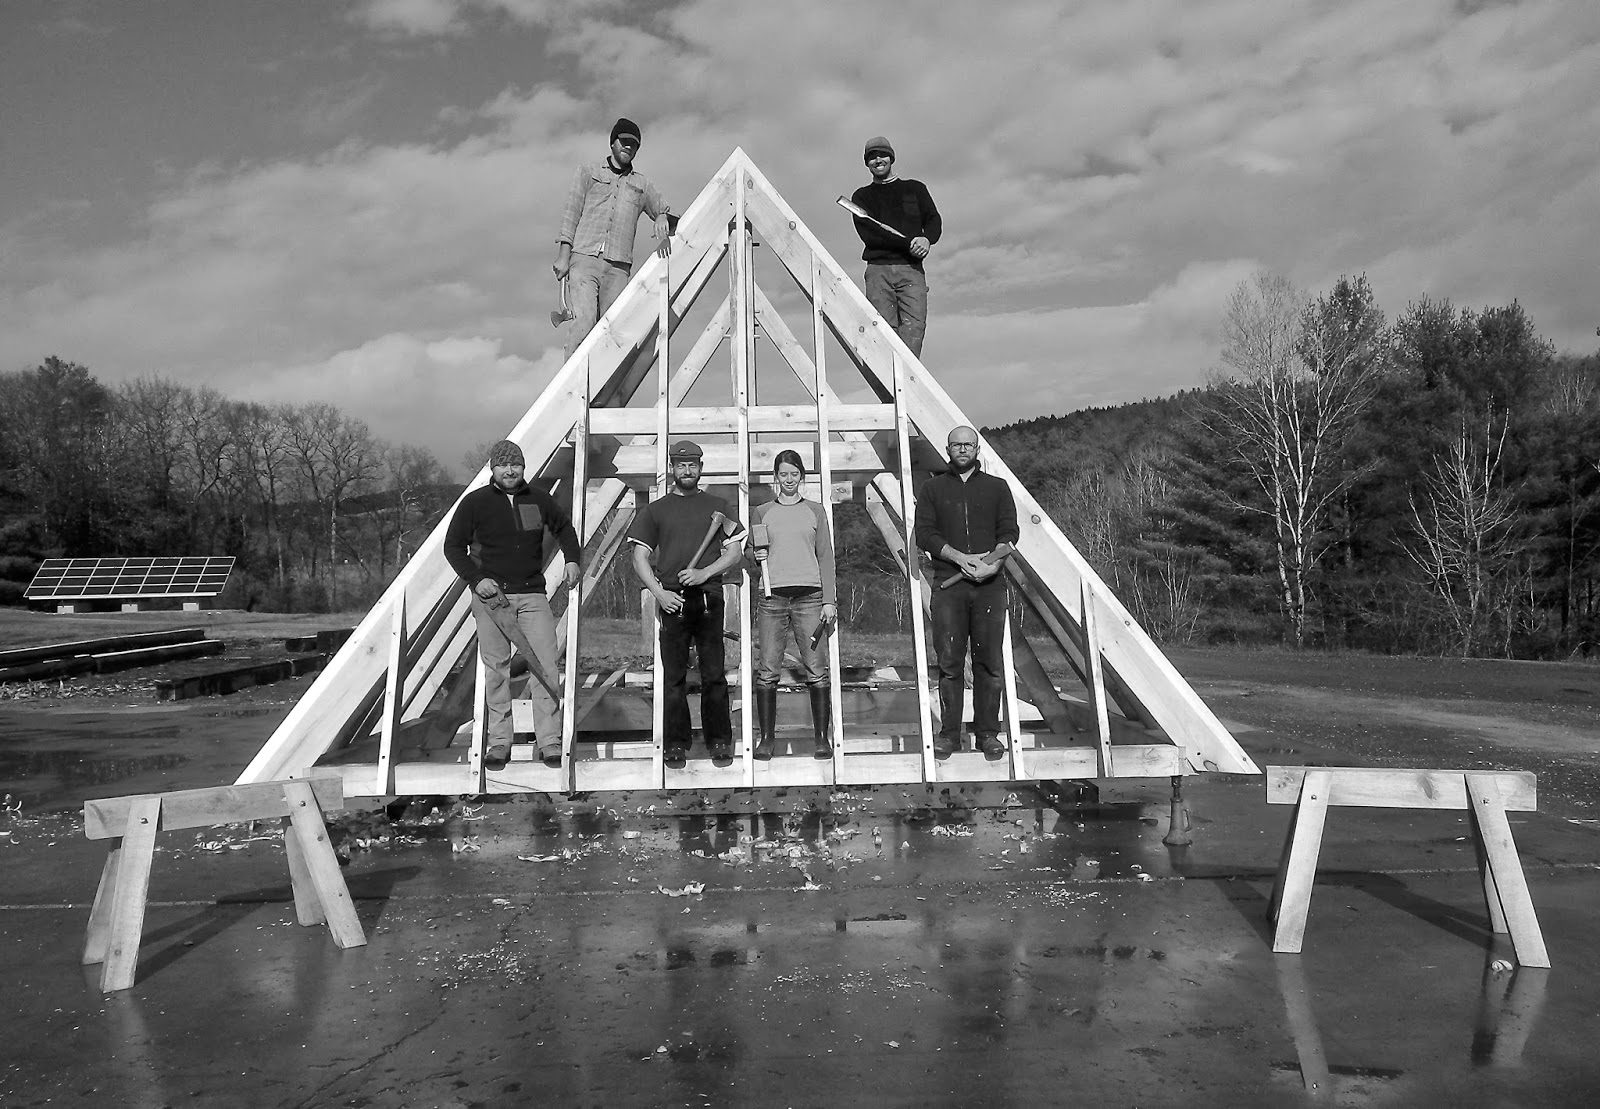
There's been a theme to all of our classes, and I'm not talking just about the enormous truck-stop sandwiches. What's made this series unlike other timber framing opportunities was the lay out method. Often introductory classes teach square-rule framing - for which you make all joinery to geometrically-perfect imagined timbers contained in a larger, imperfect timber. It's a beautiful and straightforward method and it caught on like wildfire in the states after it's introduction (back in the day). It requires units of measurement and accuracy with those measurements, but once you have the design clearly defined each piece could be cut in different locations and assembled like a puzzle of perfectly-fitting orphan pieces.
 |
| Snapped lines |
German Lofting is more of a family affair. First, all the measured drawing happens on a series of 1:1 scale drawing of the building - typically snapped chalk lines - which are very precise. From there, all the cut lines are made by connecting dots either derived from the snapped lines or from simply laying one timber on top of it's sibling. The difference is a separation of the two steps in the process: square-rule cutting is peppered throughout out with laying out your cuts, while lofting requires about the same amount of time total, but plowed to the front-end. It also frees the wood's milling from being a determining factor, though math always wins.
 |
| Layed out after being lofted. |
 |
| Hip rafter meets lower plate. |
 |
| Common rafter. |

Looking forward to what the spring may bring...
No comments:
Post a Comment