Last month we
posted about one of the scarf joints which will turn two 14' timbers into a 25' juggernaut. In it there was a reference to the Timber Framer's Guild index of joinery
article which you can download for free as a portable digital file. If you have eyes and a brain, these articles are still worth your time.
Before diving into the joint; a 20 second square rule timber framing orientation: the middle-of-the-ground joinery technique was THE method in America until stud framing came to place. It requires a timber is at least some-what straight and has one edge at which two faces intersect at 90 degrees.
Let's say you're framing with 8" x 8" timbers (in profile or section, not length for any lay-peoples). It may be rough-sawn or hand hewn, but in either case it will not be exactly 8" x 8", and it doesn't need to be. Just as Michelangelo looked at a marble block but saw David within, so does a framer imagine a perfect 7 1/2" x 7 1/2" timber within the rough 8" x 8". That 90 degree edge is shared by the perfect timber and the actual timber and is known as the Reference Edge which is the intersection of two Reference Faces.

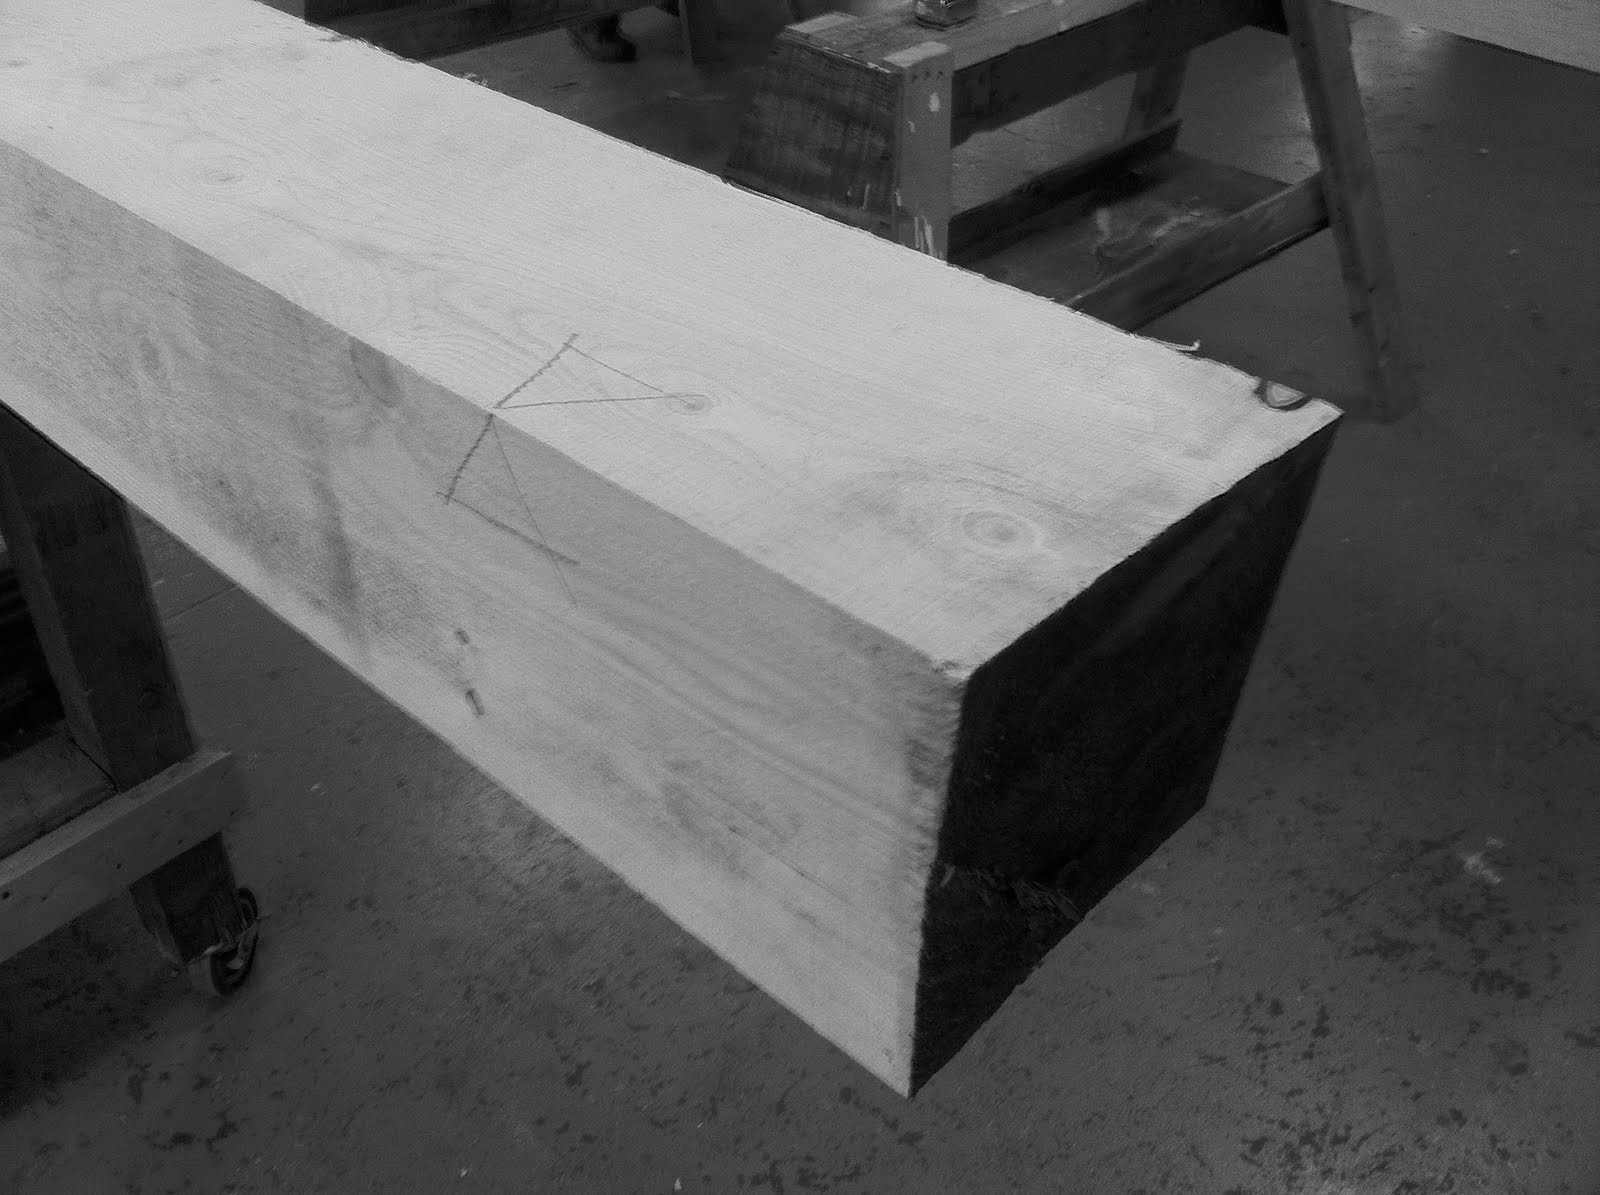
SO that's that. Now to the scarf: First we laid-out the cut, all of the dimensions are taken from a Reference Face. Below the female side of the joint is laid down with a razor-sharp pencil and to a tolerance of 1/32nd of an inch.

Once the cut was checked by a "sober adult who looks like they know what they're doing", we started cutting by hand sawing the shoulder.

That's the easiest cut in the whole enchilada. Things got very real with the "table" cut which is a three-foot-long "rip" (parallel to the grain as opposed to "cross" cuts which are perpendicular) which runs through all eight inches of the timber. We started by employing a circular saw which was certainly faster but still requires the operator to cut away exactly half of a slender pencil line - something that 5,000 revolutions per minute can foul up unapologetically.

A second rip cut was made on the same plane on the opposite face. A circular saws' teeth will cut less than three inches when at full depth so we still had over two and half inches of a three-foot table to cut. The longest hand-held rip saw we had was about ten inches which wasn't the right answer to our needs. After some noodle scratching we found the solution in combining the old with the new.
First we "kerfed" the waste wood (a kerf is the void left in a saws' path - it is described by the width of the blade and the depth of the cut). Wood breaks away easily when approached from the end-grain (image wood as a handful of straws, we're looking through them like telescopes when we're talking about end grain) but only when its a short length. Kerfing gave us the break-away-ability...but how to break it?

Our answer came in the form of history. A
Gransfors Bruks axe and sweat produced airborne chunks of hemlock the size of your forearm and the desired effect.

After a bit of hewing (still with a double-bevel axe for those who know) the scarfs' "table" was sufficiently mellowed for more refinement.

That refinement came in paring with chisels and some plane work.

Now - after the shoulder was cut, the rip was made, the kerfing was run, the axes thrown and chisels driven - we are at end of step two: the table has been established.

After the sweat and noise associated with the last images, a simple tenon was cut swiftly.

Assuming the lines were cut in half, we should be recreating this image soon enough.


